Configuring Shared Block Storage for a Red Hat High Availability Cluster on Alibaba Cloud
Environment
- Red Hat High Availability cluster consisting of Aliyun intances .
- Red Hat Enterprise Linux 8 (with the High Availability Add-on)
- Pacemaker
Prerequisites
- A configured Red Hat High Availability cluster consisting of Aliyun instances. The configured cluster environment should include the following components.
- Vitual Private Cloud (VPC)
- Subnet(s)
- Security Group(s)
- Security Group Rules
- SSH Keys
For instructions on installing and configuring a Red Hat Cluster consisting of Aliyun instances, see Installing and Configuring a Red Hat Enterprise Linux 7.6 (and later) High-Availability Cluster on Alibaba Cloud (Aliyun).
Configuring shared block storage with the Aliyun ECS Console
To configure shared block storage for Red Hat High Availability cluster running on the Alibaba Cloud , you must first create the shared block volume and then attach the volume to each instance in the cluster.
-
Create the shared block device.
a. Log on to the Content from ecs.console.aliyun.com is not included.Aliyun ECS console.
b. On the "Elastic Compute Service" menu, expand the "Storage & Snapshots" submenu and select "Shared Block Storage".
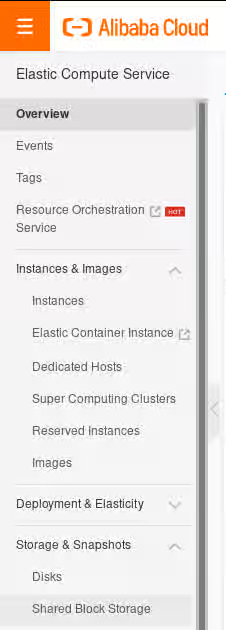
c. In the top-right corner of the screen, press the "Create Shared Disk" button.
![Shared Block Storage] (https://access.redhat.com/sites/default/files/images/shared_block_storage.png)
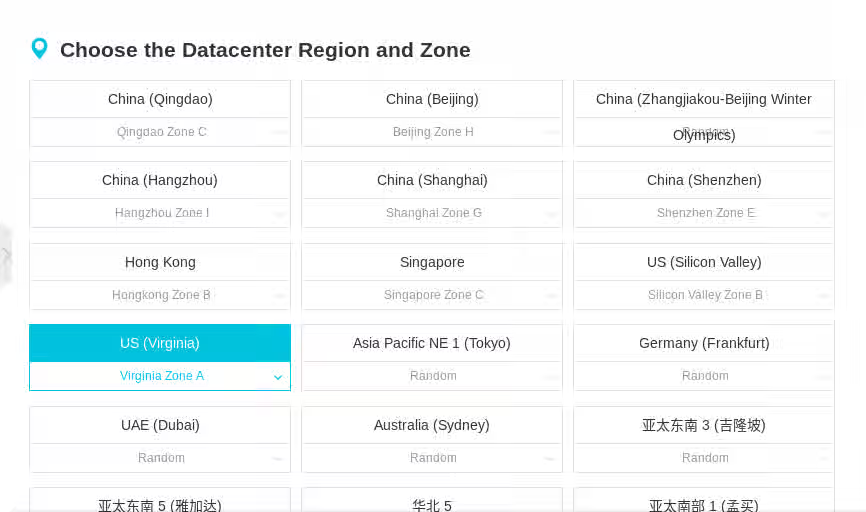
d. Choose the appropriate Datacenter Region and Zone for the cluster environment.
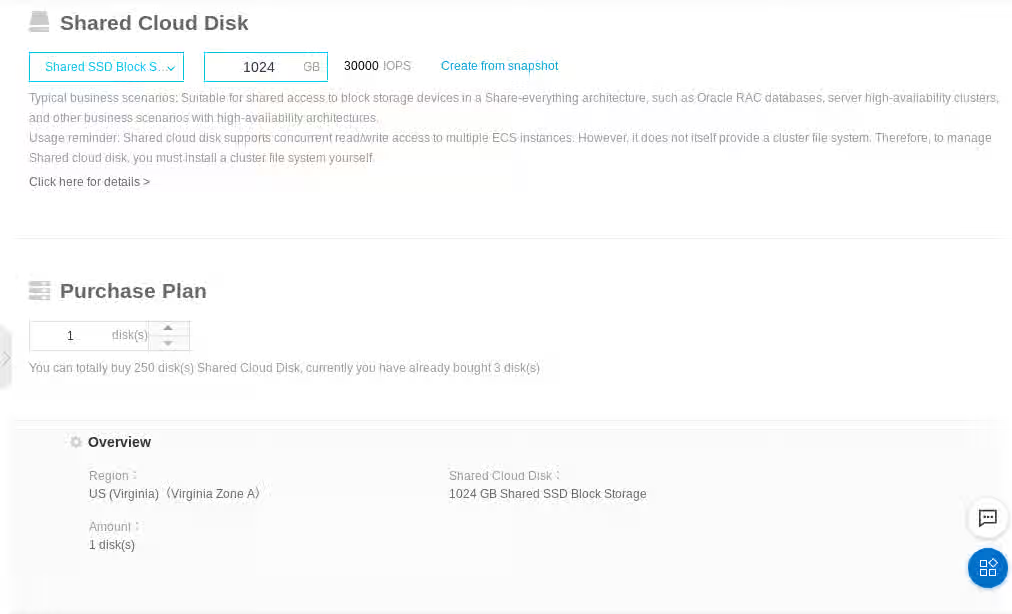
e. Scroll down the page and under "Shared Cloud Disk" select "Shared SSD Block Storage", select the size of the disk in GB, and press the "Buy Now" button.
f. Review the order, check the "ECS Service TermsandProduct Terms of Service" box, and press the "Activate" button.
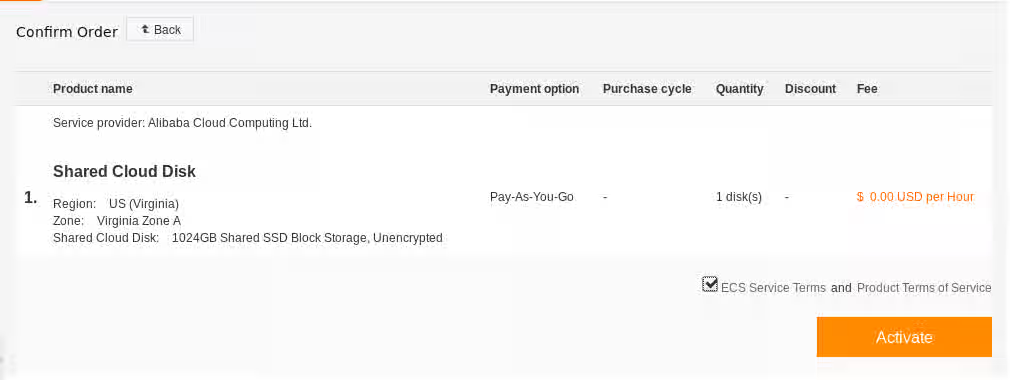
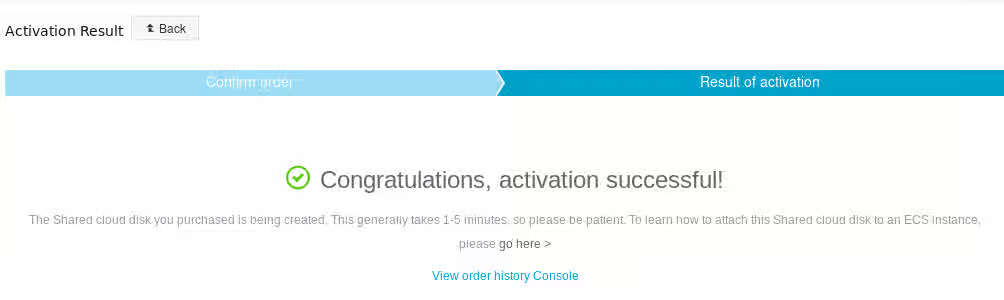
g. The confirmation page appears. If it does not appear, confirm that you performed the procedure correctly.
-
For each instance in the cluster, perform the following procedure to attach the shared device to that instance.
a. Return to the "Elastic Compute Service" console.
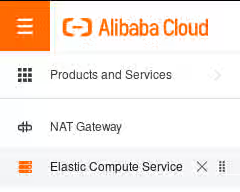
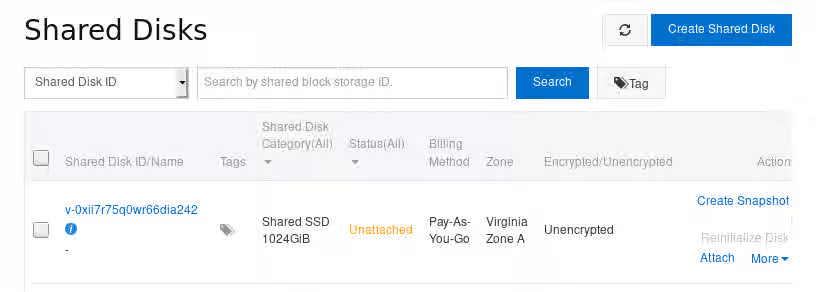
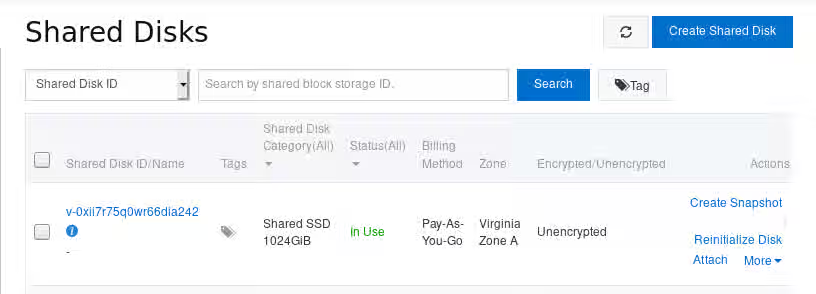
b. On the "Elastic Compute Service" menu, expand the "Storage & Snapshots" submenu and then select "Shared Block Storage".
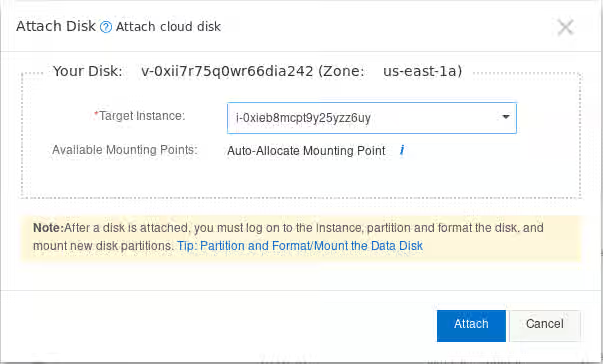
c. On the "Shared Disks" screen, click on the "Attach" link in the row for the shared disk created in the previous steps.
d. On the "Attach Disk" screen, select the instance from the "Target Instance" drop-down to which you want to attach the shared disk.
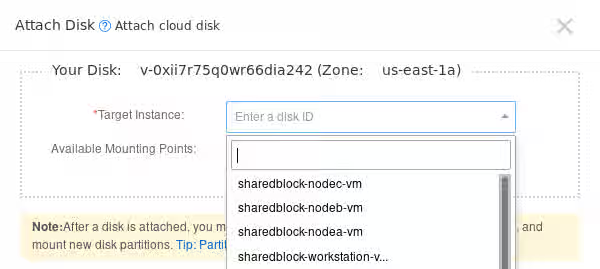
e. While remaining on the "Attach Disk" screen, press the "Attach" button.
-
Verify that the shared disks are attached to each instance.
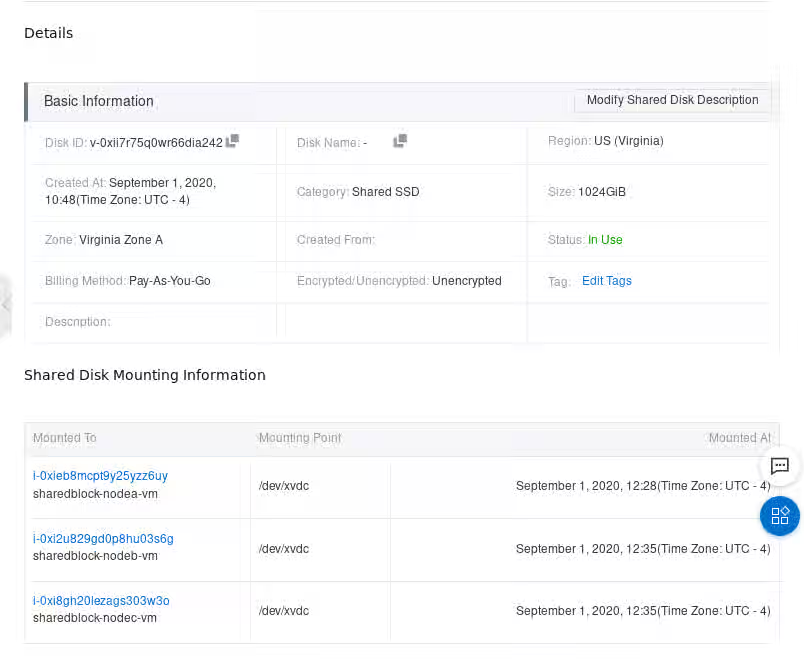
a. On the "Shared Disks" screen, click on the Shared Disk ID link in the row for the shared disk you have created.
b. Verify the "Details" and "Shared Disk Mounting Information" to make sure everything is correct.
After you have verified that the shared disks are attached to each instance, you can configure resilient storage for the cluster. For information on configuring resilient storage for a Red Hat High Availability cluster, see GFS2 file systems in a cluster.
Configuring shared block storage with the Alibaba CLI
-
Create the shared block volume.
$ aliyun ecs CreateDisk --Encrypted false --ZoneId us-east-1a --PerformanceLevel PL2 --Size 1024 --DiskName shared-block-volume --DiskCategory san_ssd { "RequestId": "B5A592DB-B250-446F-A631-6E982AB4815A", "DiskId": "v-0xi2i2mrva8eym9lgtwc" } -
For each instance in your cluster, attach the shared block volume to that instance with the following command, specifying the disk ID of the shared block device you created.
$ aliyun ecs AttachDisk --EnableShared true --InstanceId <instance_id> --DiskId <disk_id>For example, the following command attaches the shared block volume v-0xi2i2mrva8eym9lgtwc to instance i-0xi5af92715c31ww0ar.
$ aliyun ecs AttachDisk --EnableShared true --InstanceId i-0xi5af92715c31ww0ar --DiskId v-0xi2i2mrva8eym9lgtwc -
Verify that the block device is available to each node in the cluster by connecting to each node and listing the block devices, as in the
following example.# ssh 198.51.100.3 "hostname ; lsblk -d | grep ' 1T ' " nodea vdc 252:32 0 1T 0 disk -
Verify that the shared disk is the same device across all the nodes in your cluster by connecting to each node and checking for the device you have created, as in the following example.
    # ssh 198.51.100.3 "hostname ; lsblk -d | grep ' 1T ' | awk '{print \$1}' | xargs -i udevadm info --query=all --name=/dev/{} | grep '^E: ID_SERIAL='"
    nodea
    E: ID_SERIAL=0xi2i2mrva8eym9lgtwc

    # ssh 198.51.199.4 "hostname ; lsblk -d | grep ' 1T ' | awk '{print \$1}' | xargs -i udevadm info --query=all --name=/dev/{} | grep '^E: ID_SERIAL='"
    nodeb
    E: ID_SERIAL=0xi2i2mrva8eym9lgtwc
After you have verified that the shared disks are attached to each instance, you can configure resilient storage for the cluster. For information on configuring resilient storage for a Red Hat High Availability cluster, see GFS2 file systems in a cluster. For general information on GFS2 file systems, see Configuring GFS2 file systems.